When it comes to illuminating and even decorating a room, nothing is more effective than a pendant or ceiling light. They come in a wide range of sizes, shapes and styles. So you can choose a product that suits your taste, your interior design and your budget. Ceiling lights are generally quite simple to install yourself, but you do need a few basic skills. With the help of this practical guide, you can learn how to install your own ceiling light.
Why install a ceiling light?
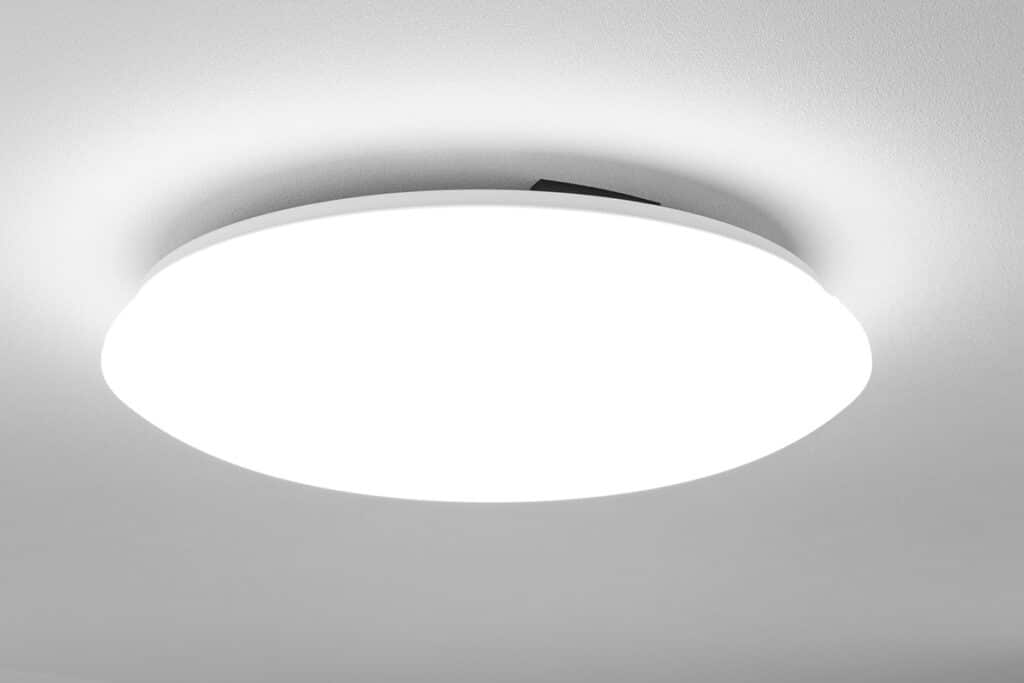
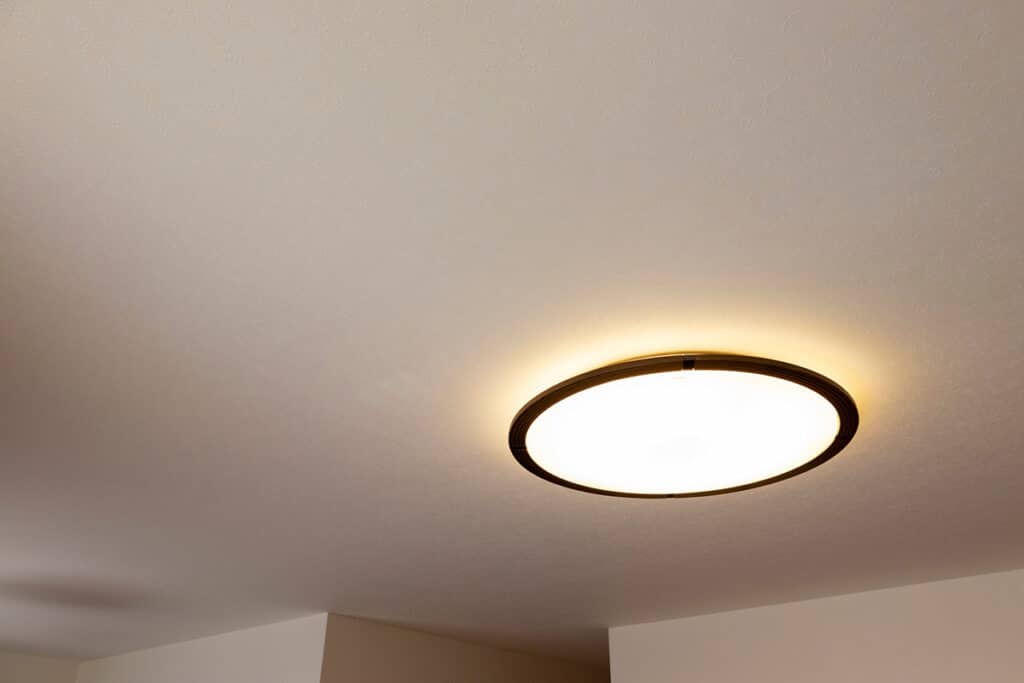
Ceiling and suspension lights are ceiling-mounted luminaires. This means they’re high up, so they can illuminate an entire room, unlike a floor lamp, for example, which only lights the spot where you’ve placed it. You may decide to install a ceiling light for a variety of reasons: to bring new lighting into a room, to replace your old suspension lamp that’s too damaged or out of fashion, etc.
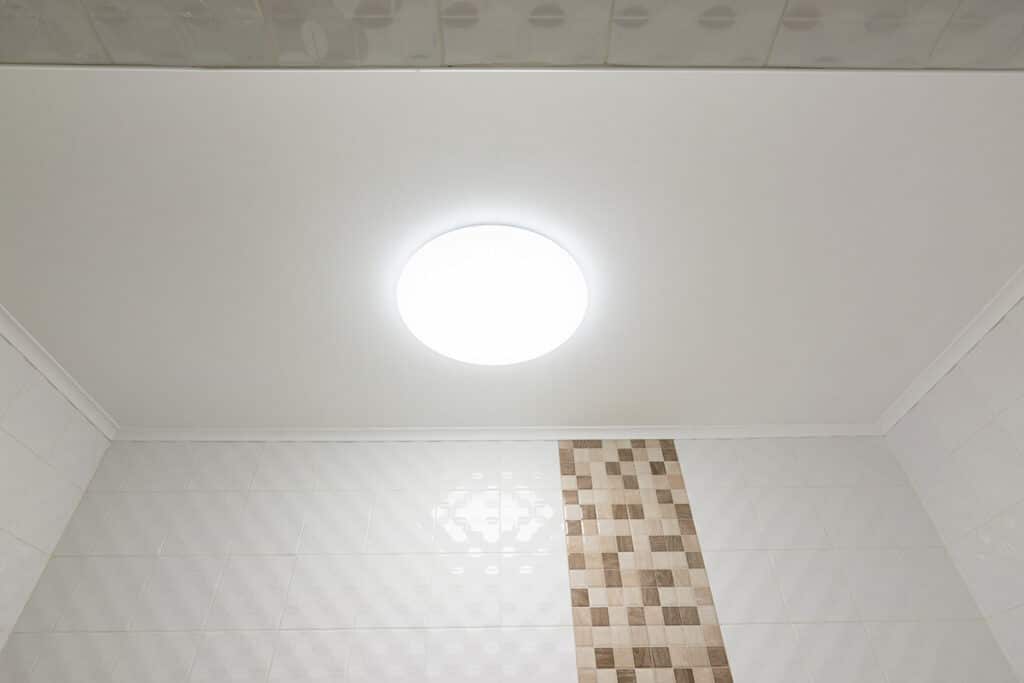
Your new pendant can be placed in a kitchen, living room, bedroom, bathroom or toilet. These are rooms that need to be well lit. All you need to do is install a ceiling light, which can illuminate your room on its own, or be complemented by a bedside lamp or floor lamp.

The materials needed to install a ceiling light
To install your ceiling light, pendant or chandelier without making a mistake, you’ll need a few tools and materials:
- Suspension hook
- Dowels
- Threaded spindle
- Stepladder
- Meter and pencil
- Cutting and stripping pliers
- Screwdriver
- Drill
- Current tester
This is not an exhaustive list, but it is essential for the installation of your luminaire. Once you’ve gathered all these elements, you can start work.
How to install a ceiling light
It’s generally best to place the fixture in the center of your room. If you’re simply changing lamps, it’s a good idea to place your ceiling light where the old one was. If your work has only just been completed, then the suspension must be placed where the electrical cable is.
To connect your ceiling light, you can choose between two different options:
- Reuse the hanger pin from your old hanger or install a new one.
- Installing a DCL box ( Luminaire Connection Device ).
Whatever you choose, make sure the wires are close enough to the suspension peg (a few centimetres).

A few precautions to take beforehand
Before starting to install your new luminaire, it’s important to carry out a few checks:
- Switch your circuit breaker to the “off” position to cut off the electrical current.
- Use a voltmeter to check that the wires are no longer crossed by the electrical current.
- Remove your old chandelier.
- Unpack your new suspension and prepare it for ceiling installation.
- Put your stepladder in the right place and place your tools within easy reach so you don’t have to climb down too often.
All these precautions will enable you to start your installation with peace of mind, and change your suspension in the best possible conditions.
Steps for installing a ceiling light
In older installations, electrical wires usually protrude from the ceiling. To install your luminaire, you’ll need a special fastener with a hook or peg, and your luminaire will be connected via quick connectors or dominoes. As for recent installations, they are generally made up of built-in electrical circuits connected to junction boxes. These are closed by a lid, usually fitted with a hook or a piton. Before closing this cover, you need to push in a cover to allow your ceiling light’s power cord to pass through.
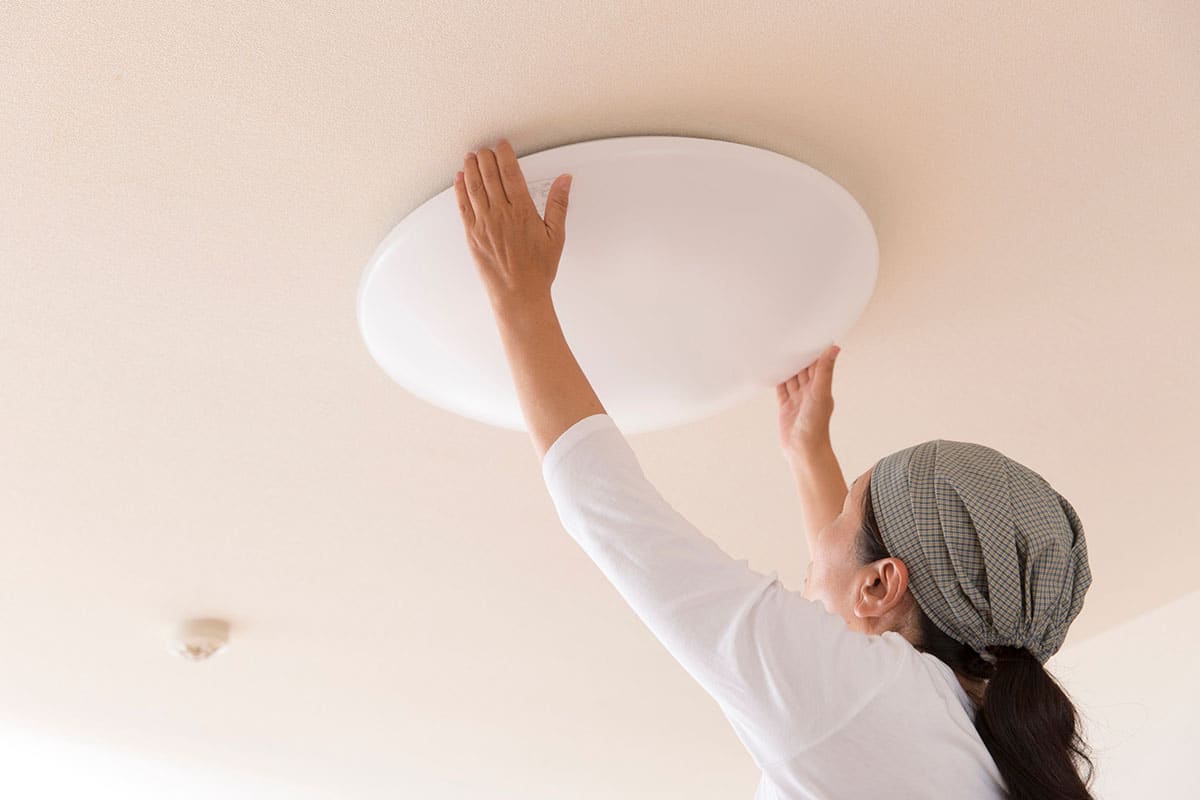
The first step is to install the fastener. To do this, a suspension dowel or DCL box must be installed. For a dowel, you need to drill a hole in your ceiling at the desired location, using a concrete drill bit of the same diameter as the dowel. For a DCL box, place the box in the hole to determine the drilling point for your threaded rod. All that remains is to remove the box, drill the ceiling to the correct diameter and reinstall the box.
The second step is to install your ceiling light. If it’s an old installation, we recommend using a plastic suspension bar that will be hidden by your ceiling light’s horn. This considerably reduces the weight of your luminaire’s electrical cables. In the case of a new installation, simply insert the plug of the DCL socket into the recess in the cover, then attach your ceiling light.
INSTALLING A CEILING LIGHT WITHOUT A POWER SUPPLY
If you’d like to install a ceiling light in one of your rooms, but there’s no electrical supply to the ceiling, don’t worry: there are some very simple solutions to make up for this absence.
The battery-powered ceiling light
The simplest solution is to install a battery-operated ceiling light. Increasingly widespread, these products require no access to electrical wiring, and can be installed in just a few minutes. You’ll need to pair it with a detector so that it switches on automatically when you enter the room, and switches off if it no longer detects anyone. Batteries should generally be changed once a year, but this may vary depending on the model chosen. Battery-powered ceiling lights come in a wide range of shapes and styles: contemporary, classic, square or round, and so on.

Connecting to an existing socket
If you don’t have an electrical outlet in the ceiling, you can connect your ceiling light to an existing socket. These are usually wall-mounted sockets, close to the floor. This means your ceiling light will be connected to the electricity supply without you having to create a new ceiling feeder. You’ll need to lay a cable between your ceiling light and the socket in question. There are several possibilities:
- Exposed cable: for an industrial look, you can leave your ceiling light’s cable exposed. It then becomes a decorative element, just like the suspension itself.
- Plastic trunking: your ceiling light cable can be hidden in a trunking that runs along the wall. Although very practical and quick to set up, this solution is very unattractive.
- Wall cut-out: concealing the cable in the wall or partition completely hides the cable between the socket and the ceiling light. You will then need to make a groove in your wall. Although this is a truly aesthetic solution, it requires a great deal of work and a good level of DIY skills.
In conclusion, it’s easy to install your new suspension yourself. Simply follow the above tips. If you still have any doubts or questions, don’t hesitate to leave a comment.

